Microbiology Images: Tips for Photography
Posted on May 24, 2019 by Matt Bassett
As part of the celebrations for our 75th anniversary, we’re inviting the microbiology community to submit images related to the microbiological world to help highlight how microbiology answers big questions by giving us knowledge of very small things. We welcome images of your science, of nature, of people, places and events that will inspire, inform and demonstrate how the study of microbes helps us to understand our world and our place within it. Photography can be a little daunting if you’ve never done much more than snap memory shots with your phone or compact camera, so we asked Matt Bassett, Content & Media Officer at the Microbiology Society to share his thoughts, hints and tips for photography.

“But I don’t have a good enough camera”
Whenever people say they can’t take good photos because they don’t have a good enough camera, I point them in the direction of the 2016 Wildlife Photographer of the Year Competition. The winning image of one of the most prestigious wildlife photography competitions in the world was taken on a GoPro.
Small compacts, iPhones, GoPros etc. are more than capable of creating amazing images, don't let the lack of a "good" camera stop you from trying out photography.
Think before you shoot
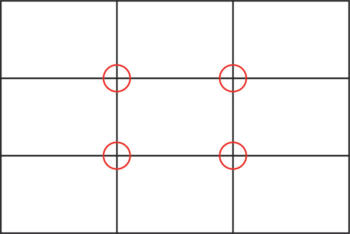
The rule of thirds grid
When you start thinking about composing your shot, rather than just pointing and shooting, your photography will start to radically improve. There are a few ‘classic rules’ of photography that are a great starting point when thinking about composition.
The rule of thirds
The rule of thirds is one of the most well-known rules of photography. If you imagine a grid of nine equal rectangles over the image, the four points where the lines intersect should be where you place the subject of your image. Using this rule is claimed to make the most ‘dramatic’ or ‘visually interesting’ composition.
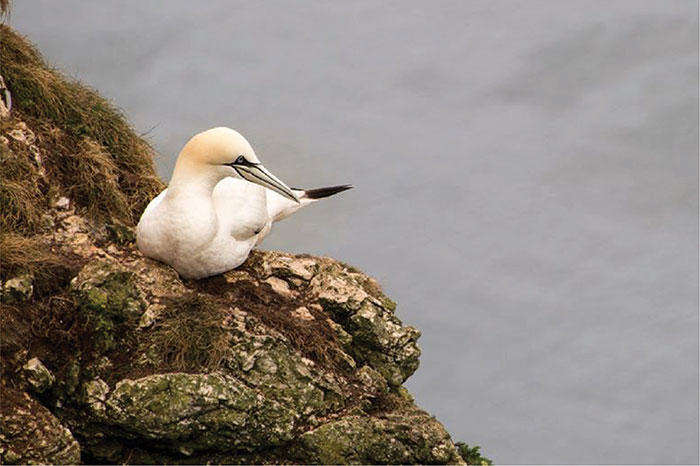
Subject is placed on the upper left third, making a more visually interesting image

Subject is placed in the middle, making the image less interesting
Leading lines
The eyes of a viewer will naturally follow any lines within an image. When taking a photograph, you can use this to your advantage and use these lines to guide the viewer towards your subject. Here I’ve used an insect on a leaf as an example, but if you were taking a photo of a researcher in a lab, you might place them at the end of a desk, using the line of the desk or shelving to ‘point’ towards the researcher.

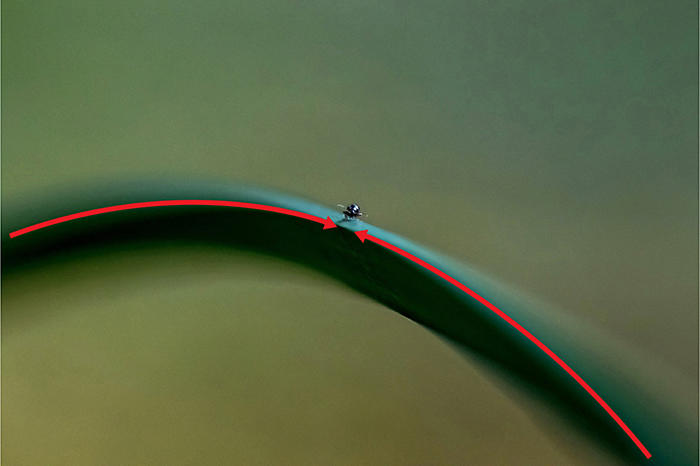
The lines of the leaf guide the viewer's eye towards the insect
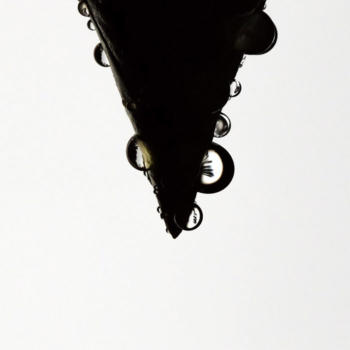
Framing
Look for arching structures to place your subject under, like leading lines, frames can guide the viewer’s eyes straight into the subject. Manmade frames are easy to spot, such as bridges or doorways, but if you use your imagination, natural frames are everywhere, for example tree branches and trunks.
These compositional rules are a great starting point, but they can be broken, you can experiment with them to create compositionally interesting images, sometimes placing the subject in the middle of the subject makes for a more dramatic shot.
Distractions
Distractions are everywhere. Warning posters on the laboratory wall, light reflecting off a mirror, a bright yellow book on the shelf, they all draw the viewers eye away from the subject of the image. Take a moment to look and see if anything distracting is in the background of your image, if there is, try another angle, use your subject to block it out or even just remove the offending book. You don’t want your image devoid of all character so don’t remove everything that might draw the eye. But do think about the really distracting things.
Look for another angle
The last tip I would suggest, is experiment with angles. Shots taken from eye-level are always going to be less interesting as we see that angle every day. Try crouching down and taking a shot from a child’s perspective or get up high and look down on your scene. Try angles that are unusual, it might work, and you could get a really interesting, different looking image.
Stay tuned for another blog on how to take images using a microscope. Meanwhile, you can follow Matt on Twitter here.
If you feel inspired to try photography and submit some images, you can do so here